In class, I was asked by our teacher to complete a three-point lighting setup, using photo-realistic lights. I have been given Arnold light tutorials and a step by step guide which now I am going to recreate.
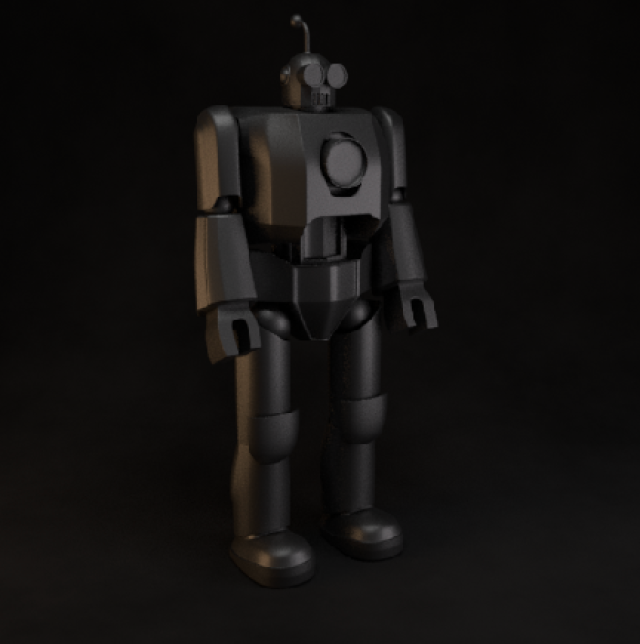
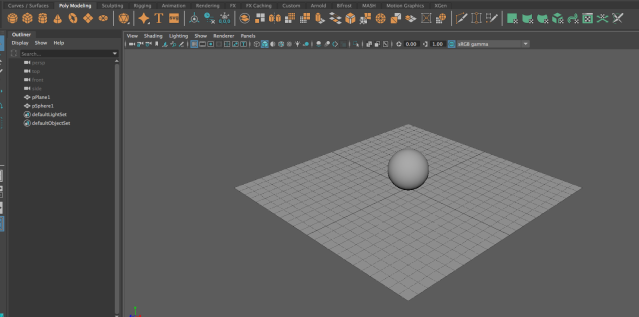
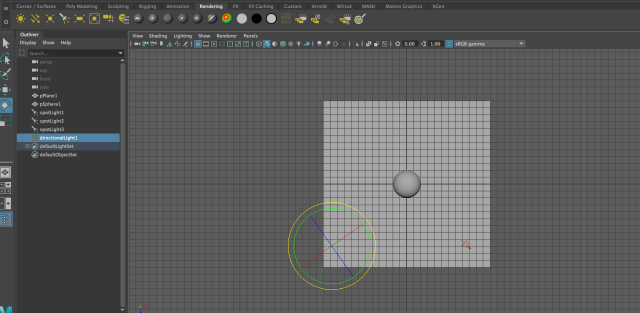
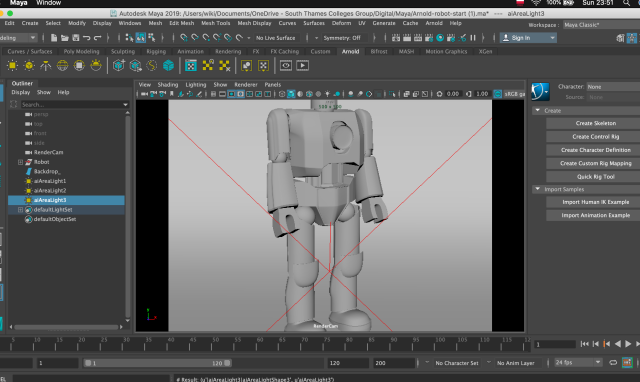
First I have started off by opening the Maya Scene and noticed that there was a robot positioned in the middle of the scene – at 0,0,0. I then needed to create three Ai Area lights which I did by going into the Arnold menu and in the light section selected area light (three times).
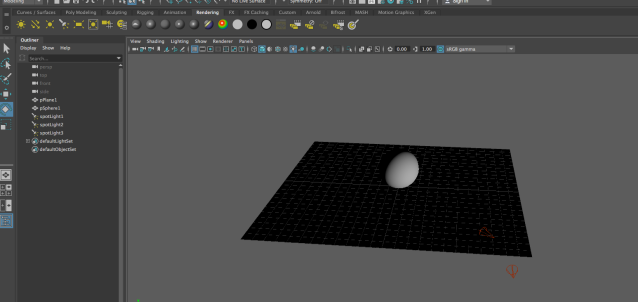
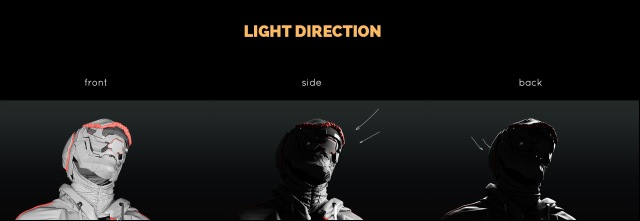
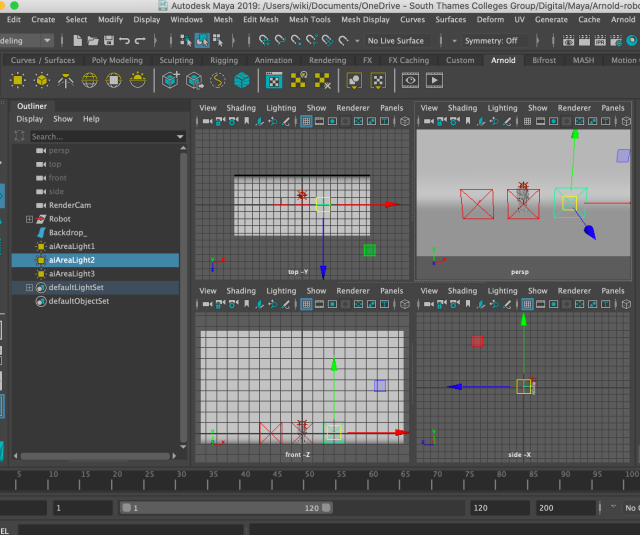
After that, I went ahead and moved the lights to either side so I had one in the middle, one on the left and one on the right.
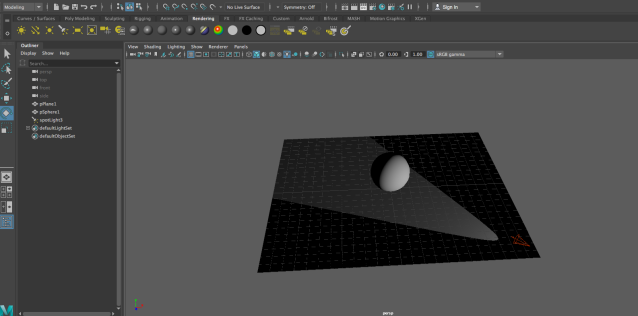
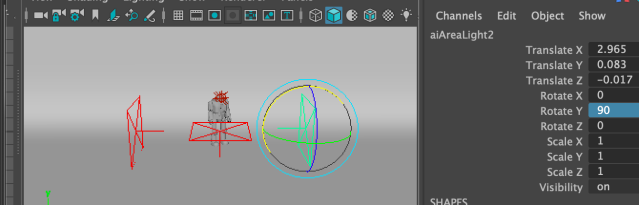
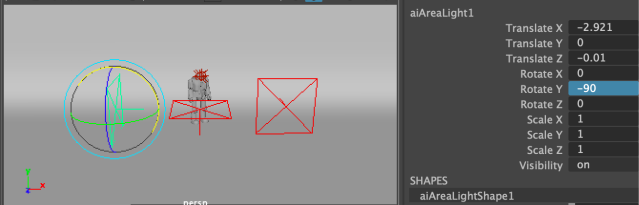
I then needed to rotate the lights so that they are facing the robot. I selected the left light and changed its y-axis to -90, then selected the right light and changed its y-axis to 90 and lastly changed the middle (top) light on its x-axis to -90. I then used the move tool to move the top light up a little as it was inside the robot.

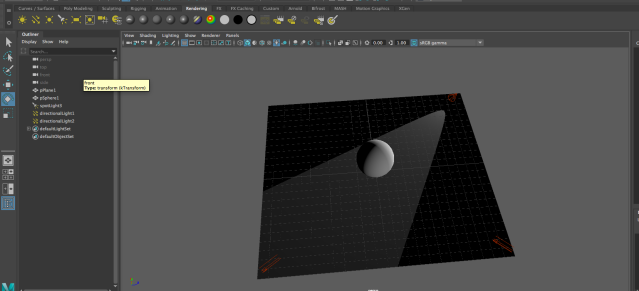
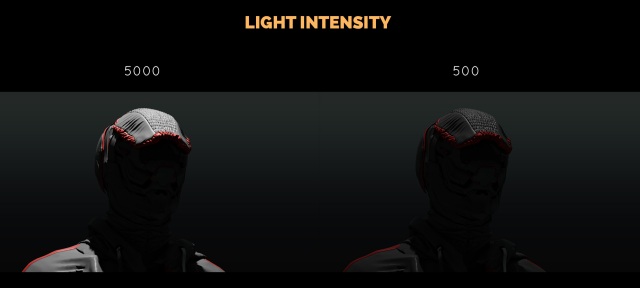
After I pressed play, I noticed that I am still only able to see the red eyes of the robot and completely nothing else. The scene appeared dark so I had to increase the exposure of the lights to 8 however I made a mistake and instead of increasing the exposure, I increased the Intensity. Fairly said, it didn’t make much difference to how the robot ended up looking compared to my teachers final model.
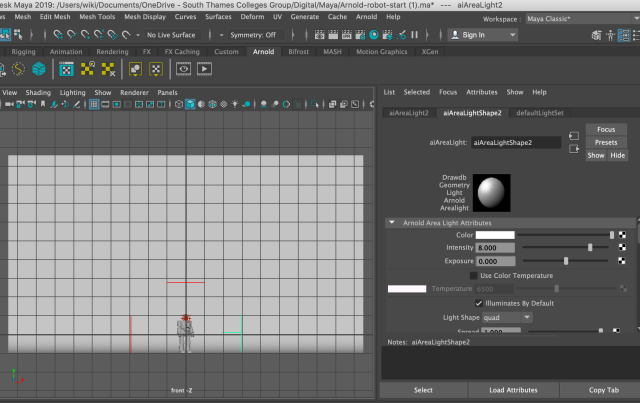
That’s how it looked like after increasing the intensity to 8 and leaving the exposure at 0.

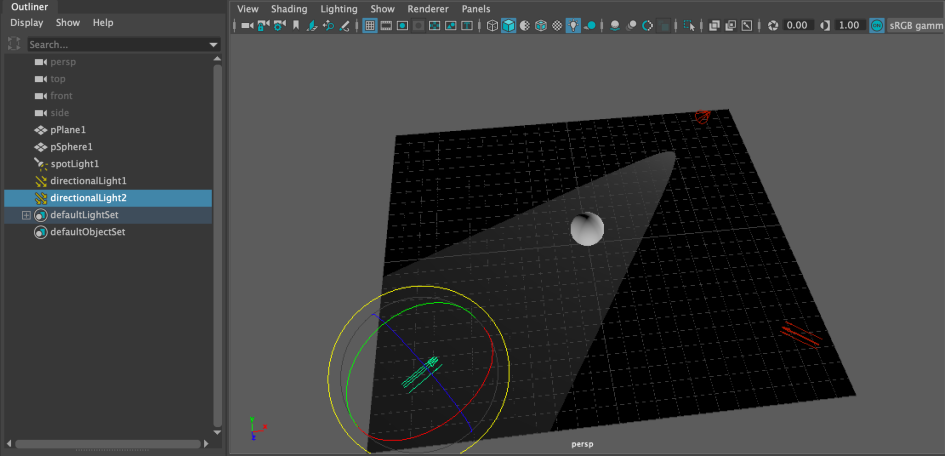
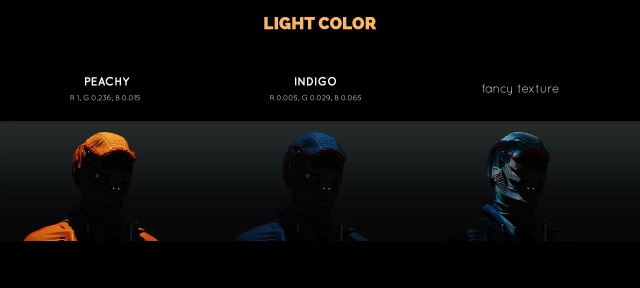
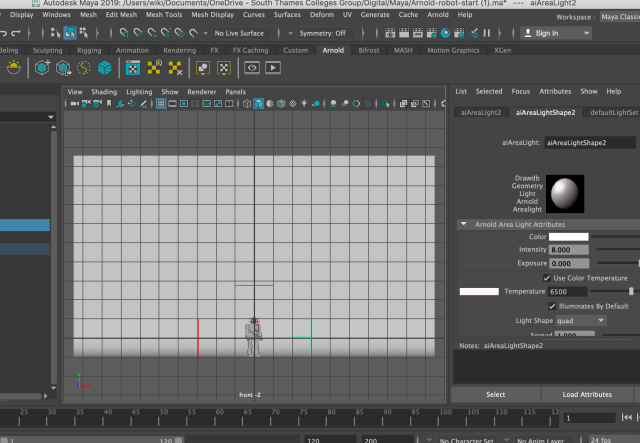
I then went ahead and selected the right light. I enabled the colour temperature within the Arnold attributes. I left it at the value of 6500 as in that way it will give a cool blue feel to the light.
I then selected the light on the left and I have done the same however I changed the temperature to 4000 so it gives more of a warmer tone, just like you can see below.

This is what the robot looked like after I enabled and changed the temperature. You can see on the left-hand side that it already has a warm, orangy looking colour added to it.

My teacher has also instructed me on his video to change the volume samples to 3. This had to be done to every light.

I have then gone ahead and opened the hypershade window. In the search bar, I typed aistandard as that’s the shadow that I applied to my robot. I selected the robot in my taskbar and added an existing material to it which was the shadow.

I then went into the property editor and changed a couple of numbers. I changed the metalness to 1 and the base colour to a mid-grey colour. I also reduced the Specular weight to 0. The roughness also controls the glossiness of the reflections and the lower the value, the sharper the reflection. I increased to 0.5.


This is the final outcome of the final piece. You can see that the robot definitely is much clearer as it has less noise, much more metal and realistic looking and overall an upgraded version of the one I started off with.

Transformation: